
Sharp objects and cats don’t go along. So, trimming a cat’s nails requires some tips and tricks for the cat to be comfortable with it. It won’t only benefit the cat. It’ll also protect you from unnecessary scratches that your cat may want to design your face with.
Here, I’ll tell you how to trim cat nails, along with everything else that has to do with it. I’ll answer all questions you may have about the procedure. Make sure you keep reading till the end of this article as I’ll be mentioning some crucial do’s and don’ts within the final section.
Table of Contents
Why Should You Trim Your Cat’s Nails?
Trimming a cat’s nails isn’t an absolute necessity, but are you ready to live with the consequences? You don’t want to wake up someday to a scratched bed. So, here are a few good reasons you should trim your cat’s nails.
Protect Your Furniture
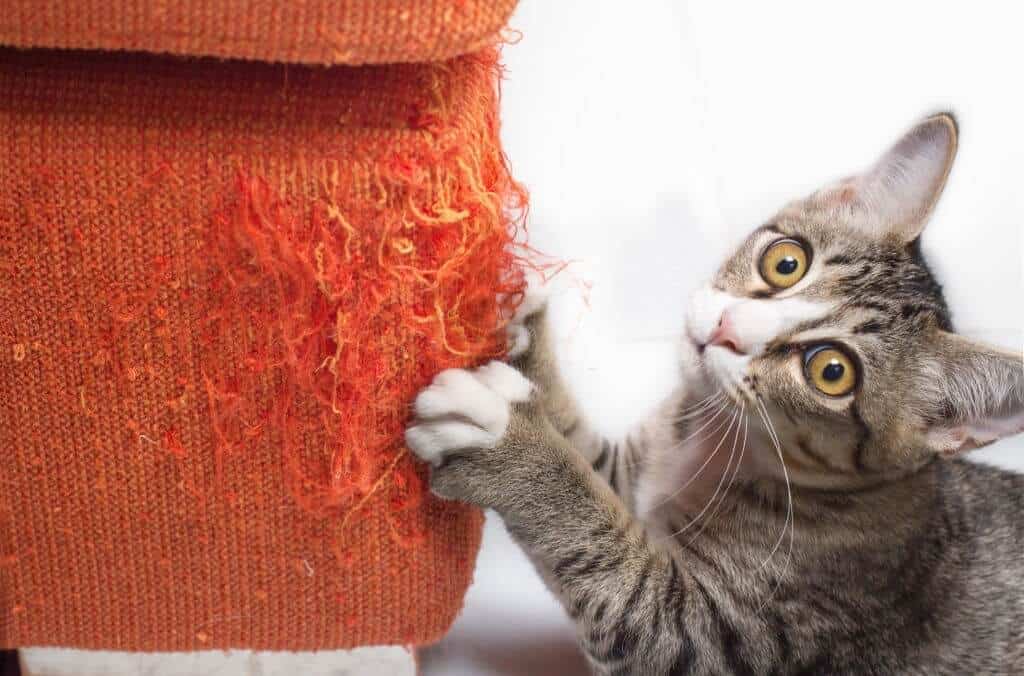
If your cat has a natural desire to shred furniture while walking around, trimming her nails is one way to control it. No one wants to be stuck with a scratched sofa or a torn carpet, should your cat decide to give your furniture a rugged look. Additionally, it can get annoying for the cat itself when her nails stick into the carpet.
You can use a repulsive spray to get your cat to scratch into its pad or post, instead of going at the furniture. However, it can only last to an extent.
So, you should cut your cat’s nails if you find them too long. Otherwise, you’ll need a bunch of scratching pads for your house.
Another way to protect your furniture is to use sticky paws which might be the easiest and cheapest way to get the job done.
Protect Your Skin
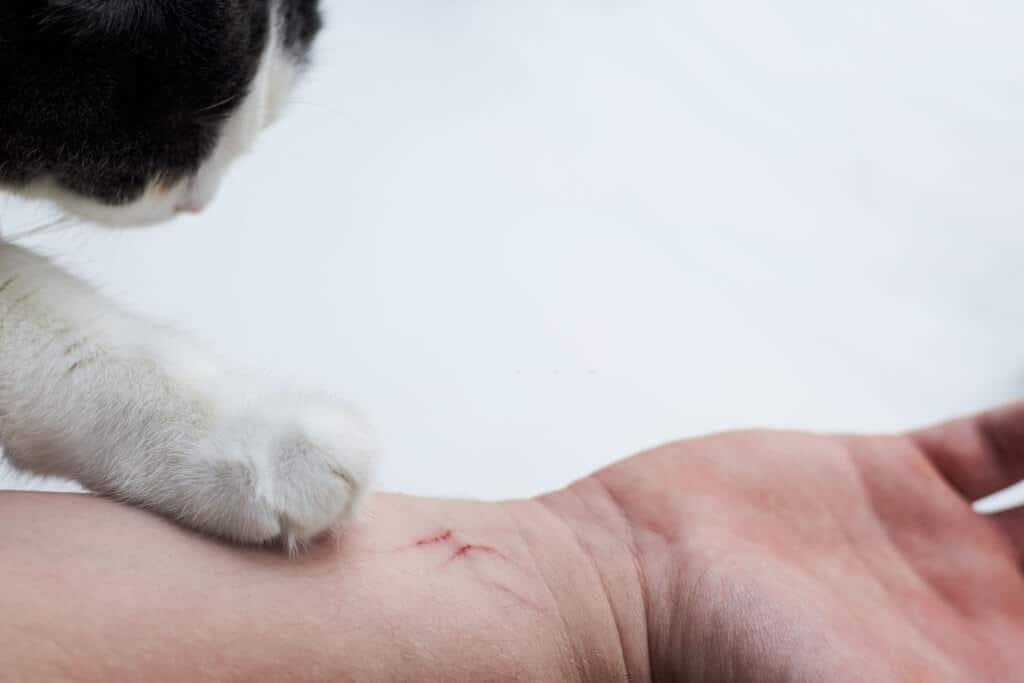
Cats like to poke their owners’ skin in a friendly gesture. However, it won’t be that friendly when it comes to a sharp claw. Especially that cats’ nails don’t retract when they become too long, so there won’t be any escape. Therefore, trimming your cat’s nails will protect you from nasty scratches.
Make Your Cat More Comfortable
Overgrown nails will poke into the cat’s pad instead of retracting as short nails do. This will cause pain to your cat, and it may cause skin infections. Older cats are more prone to this because they’re less mobile, so their nails will be left to stick into their pads for long.
Outdoor cats won’t need nail-trimming because they need the sharpness to climb and such. However, indoor cats are a different story. Make sure to trim your cat’s nails regularly to avoid unnecessary health risks.
How Often Should You Trim Your Cat’s Nails?
This is a tricky question. It depends on your cat. If you own a kitten, you’ll want to get it used to the process. So, you’ll need to do the trimming frequently; once weekly, for example.
If you own an old cat, you’ll want to do it regularly, so the extended nails don’t hurt her. However, older cats grow nails slower than kittens. Therefore, once every two weeks will suffice.
If you own an outdoor cat, you’ll need to let her keep her nails for a while. They’ll help her climb trees and fight off wild cats.
Recommended: Full guide to potassium chloride in cat food
3 Things to Do Before Attempting to Cut Your Cat’s Nails
If you want to cut your cat’s nails without getting your cat skittish and nervous, there are some things that you can do. You should start doing them a week before attempting to go through the actual thing.
Here are three pre-cutting steps that’ll ease your cat into the manicuring.
Get Your Cat Accustomed to the Clippers
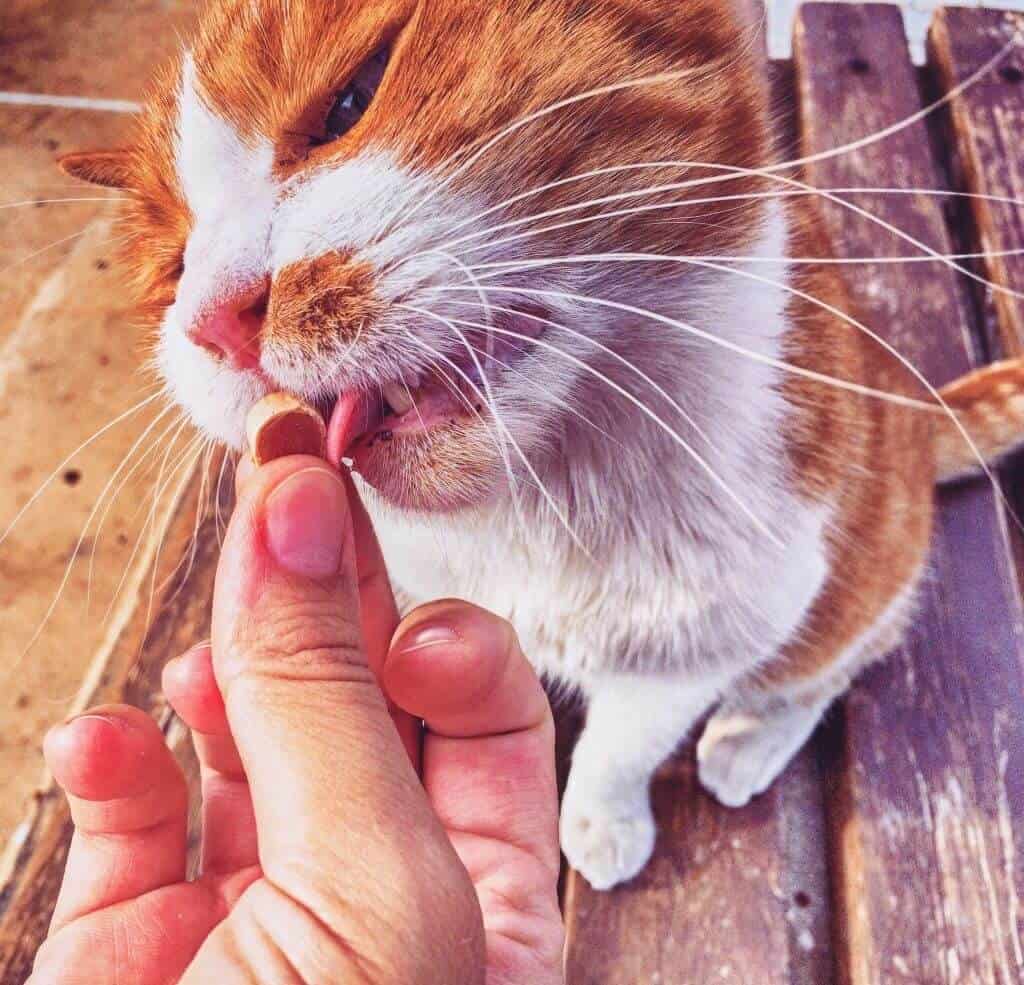
You should introduce your cat to her clippers first without attempting to do any trimming. Wait until your cat is in a relaxed position. If she’s in her favorite position, it’ll be a bonus. Then, lay the clippers in front of her and put a treat right next to it. On its way to get to the treat, she’ll sniff the clippers and observe it.
Doing this repeatedly will cause her to get used to it. The treats will also help her associate the clippers with a reward.
Massage Her Paws
Trimming a cat’s nails includes you holding her paws and pressing down on them. Doing this for the first time with a sharp object in your hand can be alarming for that cat. That’s why you should do it every once in a while without taking any further action.
You’ll hold the cat’s paws and massage them gently while pressing down on the joint to get the nails out. After that, reward her with a treat, especially if you’ll be massaging her feet. A lot of cats aren’t comfortable with anyone touching their feet; the treat will ease them into it.
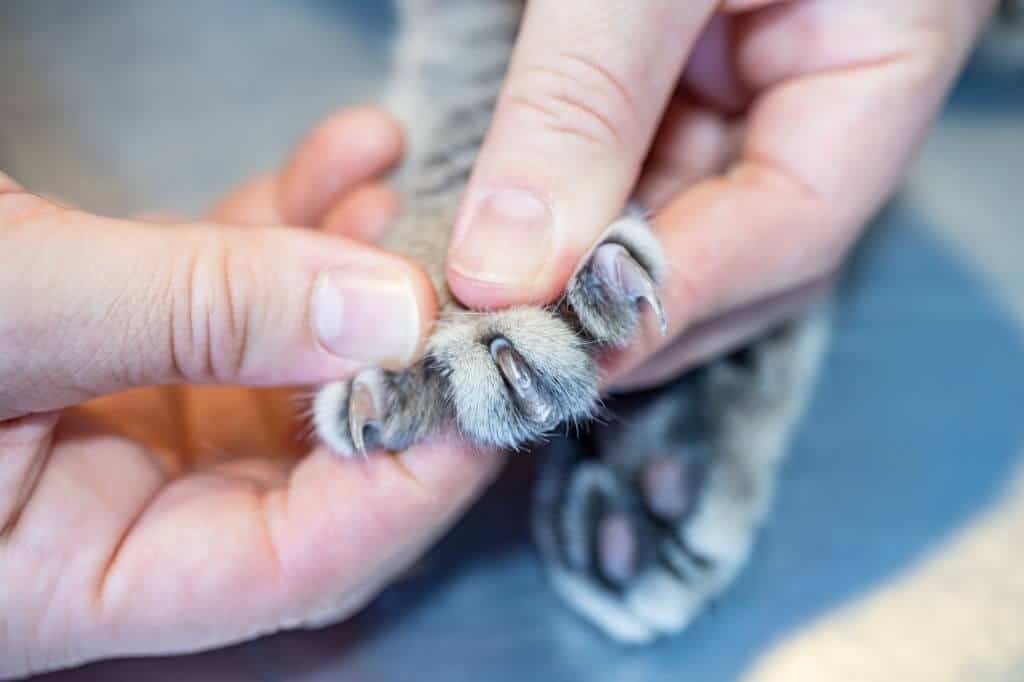
Extend Her Claws
Cats usually have their claws tucked in. So, you’ll need to put pressure on the joint on the back of their paws to extend it. You should start doing this a couple of days before trimming to get your cat used to the sensation. Needless to mention that you’ll also give her a treat afterward!
Did You Know That: you can help your cat manage its food allergy symptoms with non-prescription products that won’t cost an arm and a leg. Check out our review of the best z/d cat food alternatives to learn more about this.
How to Trim Cat Nails in 6 Simple Steps
Trimming cats’ nails isn’t a hard task, but it requires some caution if you want to get out unscathed. If you’re new to the cat-owning thing, take a look at these 6 easy steps of trimming a cat’s nails.
But first, here’s a short video summarizing the whole process:
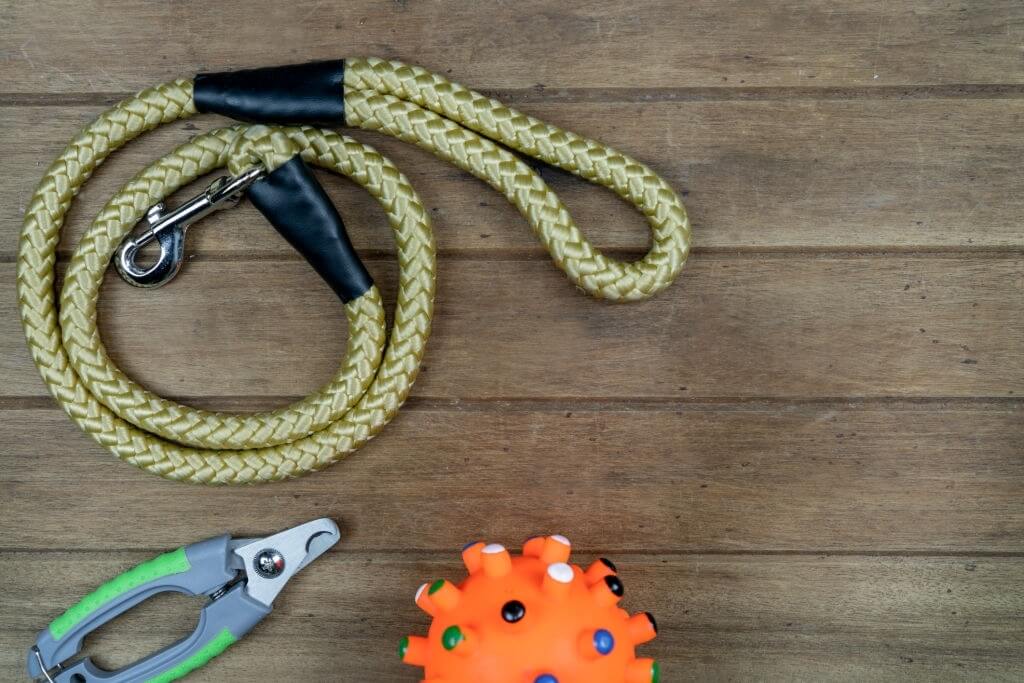
Step 1: Prepare Your Tools
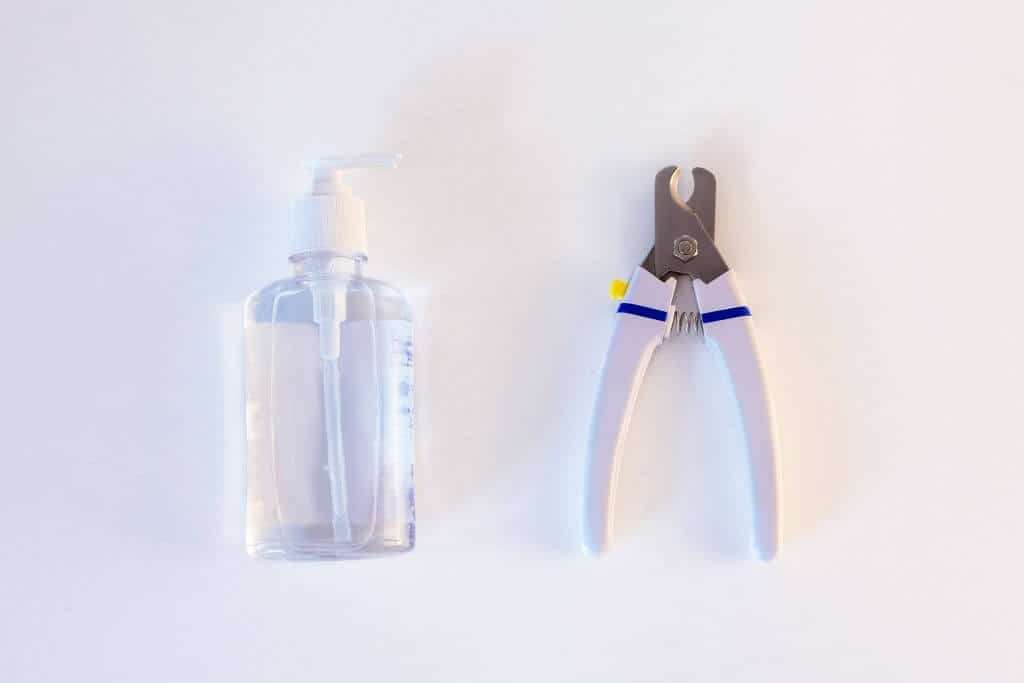
Needless to say that the first thing you’ll need to prepare is a reliable pair of cat nail clippers. You don’t have to get an expensive pair; any clippers with rounded blades will suffice. That being said, make sure to get a pair of clippers with a thin head. It’ll allow you to observe your cat’s claws, so you don’t cut the quick by mistake.
The most vital thing to consider when choosing your cat’s clippers is the sharp edge. A lot of pet owners use anything near them, whether it’s a pair of pliers or scissors. This is only okay if they have a sharp blade. A blunt blade will cause more pressure into cutting, which may hurt your cat and cause it to bleed.
Trimming a cat’s nails only requires a pair of clippers, right? No, it’s not. The most essential part of this process is to get your cat comfortable with it. And we all know the shortest road to a cat’s heart is soft treats. Before starting to cut the nails, give your cat some treats. It’ll help significantly, especially if your cat is anxious.
There’s one more thing that you may need, but it’s optional. If your cat tends to bleed during the procedure, keep a styptic solution next to you. It’ll come in handy to stop the bleeding.
Step 2: Prepare Your Cat
Cats get nervous about getting their paws handled. They’ll likely feel threatened, which can result in a violent reaction. To avoid this, you should prepare your cat mentally for the procedure.
You can do this by holding your cat’s paws occasionally and pressing gently on it. You should wait for your cat to lounge and get relaxed, and gently pat its body. Next, move on to its paws and hold them as if you’ll cut its nails. When in fact, you’re just testing the waters.
If your cat gets up and walks away, let it be. Repeat the process later on until it’s ready. After you succeed in this, reward your cat with her favorite treats. That way, pressing down on her paws will be associated with something she loves.
Related: Do horned paws hurt cats?
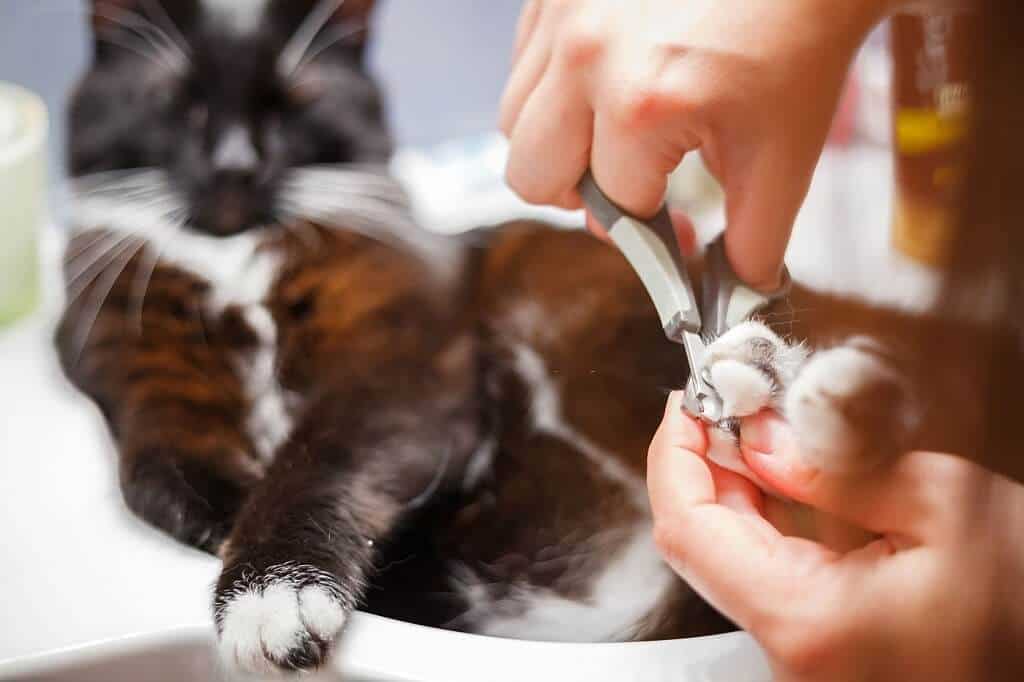
Step 3: Hold Your Cat Gently

Approaching your cat with a sharp pair of clippers in your hands isn’t the wisest thing to do. There’s a big chance you’ll walk back empty-handed, or worse, scratched. So, the first thing you should do is to rest your cat in one arm. Meanwhile, hold her paw with your free hand. Alternatively, you can place her on a sofa or a table and hold her paw.
Either way, you’ll put her in position first before grabbing the clippers. If there’s someone to help you, it’ll make it easier for you because they can hold the cat or distract it while you cut. Otherwise, you can place the cat on your lap with her back facing your front. This position will make your mission easier.
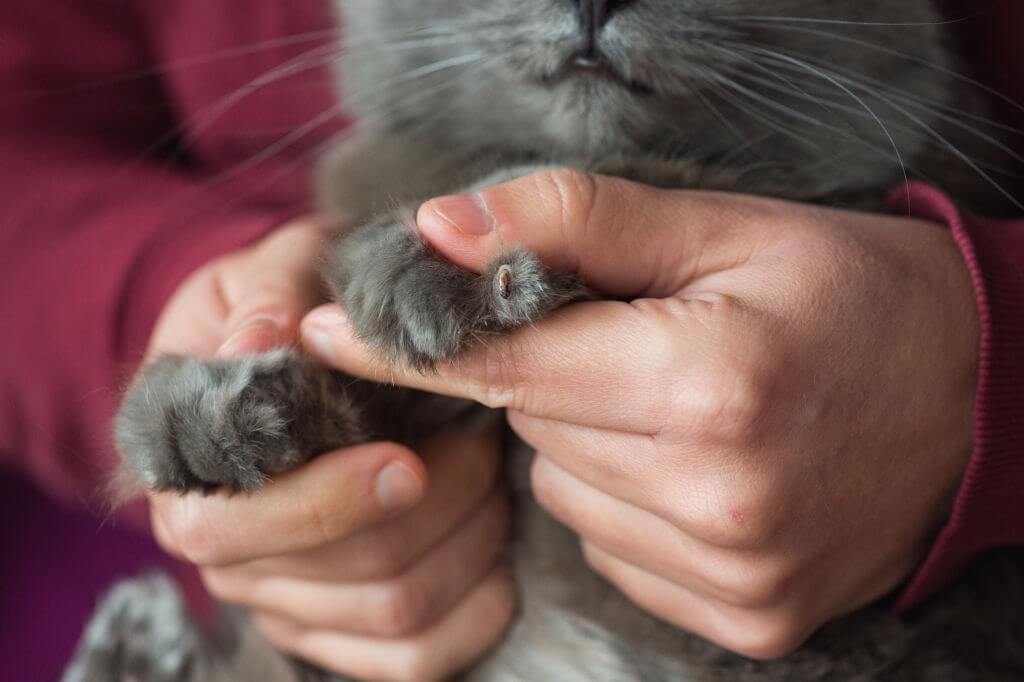
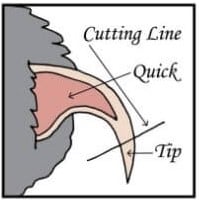
Step 4: Cut the Tips of the Claws
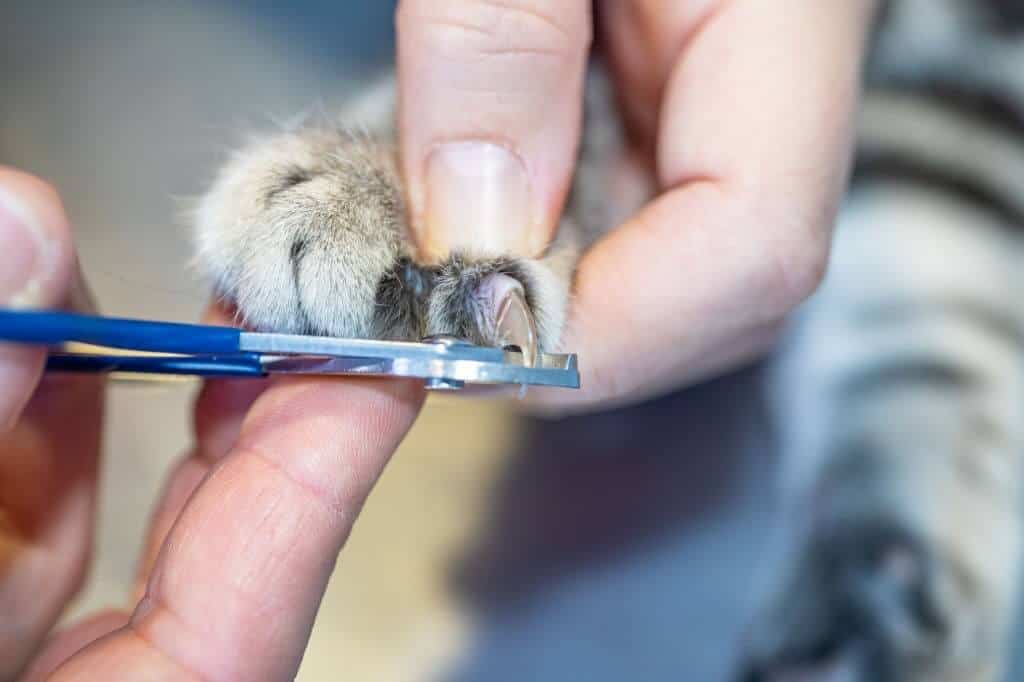
The next thing you should do is to get your cat’s paws ready for the cutting. To do this, take it into your hand and press down gently on the joint. If you have long nails, make sure not to scratch the cat’s pads, so she doesn’t feel threatened. You’ll notice that the nails will extend once you put pressure on the pad.
Afterward, cut the thin tip off, and you’re done. Don’t get anywhere near to the pink base of the nail. This part is called the quick, and it’s the ending of many nerves and blood vessels. It’ll hurt the cat immensely if you cut it, just like you’d feel if you accidentally cut your cuticles.
If you happen to cut a cat’s quick by accident, dip the cat’s nail in cornstarch or a styptic solution. This will stop the bleeding.
Step 5: Check the Rear Claws
Generally, only the front claws require cutting. However, some cats will grow their rear claws too long, which will increase the chance of you getting scratched. You can avoid this by taking a look at them, and cutting them if they need to.
You’ll need extra patience for this because cats tend to fuss a lot when you get near those claws. So, cut one nail at a time.
Step 6: Reward Your Cat
The fact that you succeeded this time doesn’t mean you’ll get the same outcome when you try it again. As the author of Maverick cats, Ellen Perry Berkely, once said: “Every cat owner knows, nobody owns a cat”. In other words, you have no control over what your cat decides to do next time.
Repairing the procedure requires that the cat be comfortable with it, which won’t happen unless you generously reward it afterward. You can give her butter, chicken, or soft treats. This will cause her to show less resistance when you try to cut her nails again because she’ll know that there’ll be a reward after it.
Did You Know That: excessive scratching is a sign that your cat is anxious or stressed; one way to fix this issue is using a Feliway diffuser or spray. Here is an in-depth Feliway review that covers all you need to know.
Do’s and Don’ts of Trimming Cat Nails
You came in here to gain full insight into trimming cat nails, and I’ll give you that. There are some tips to follow if you want the procedure to go smoothly for both you and your cat.
Choose the Right Place
You’d think that the place doesn’t matter when you’re trimming a cat’s nails, but it actually makes a huge difference. As long as your cat is comfortable with the place, she’ll be more willing to let you cut her nails.
You can also improve the atmosphere by setting some gentle music. It’ll help the cat relax and be at ease.
Don’t Start Without Practicing
I know you think it’s a good idea, but believe me, it’s not. Getting a sharp object near your cat won’t do anything but alarm her. She’ll either lash our or walk away from you. In both cases, you’re the one losing. So, make sure to follow the practicing tips closely and keep them going for a few days before you do the trimming.
Plus, try to get your cat used to the sound of the clipper opening and closing. It may get her nervous when she hears it for the first time.
Pick Your Angle Wisely
When holding your cat’s paw, keep the scissors at a 45-degree angle, and don’t hesitate. Make the cut quickly and with precision. If you get too timid, you may not be able to fully cut the nail, which will push you to do it all over again.
Don’t Get Near the Quick
The quick is quite obvious, so you won’t struggle to avoid it. It has a pink color that’s different from the clear color of the nails. You should cut above it, so only the tip will be taken off. Otherwise, your cat will be in a lot of pain.
If the nail is too long and you’re afraid you’ll cut the quick by mistake, you can cut it on two times. If you’re using human nail trimmers, you should do that from the start. Unlike cat clippers, these are thick; there’s a big chance you won’t see the nail clearly. So, there’s a higher chance that you’ll clip the quick by mistake.
Get Someone to Help You
I know you can’t always find someone to help you, but you can bribe them into doing it. A bar of chocolate will work wonders; believe me.
The thing is that you may not be able to get the cat into a suitable position with one hand. Even if you do, you may face some difficulties trying to keep her from squirming while cutting her nails. So, an extra set of hands will be of great help because they’ll distract the cat and keep it in place.
Don’t Do It If You’re Not Ready
If you’re afraid or hesitant to cut your cat’s nails, don’t do it. You can always seek professional help, instead of doing it yourself. Some people fail to do it, no matter how much they try. So, don’t be too hard on yourself. Just give your groomer a call and be done with it.
Alternative to Cutting Cats’ Nails
If you want to let your cat keep her nails, there are some actions to take. That way, you’ll prevent the risks that come with it.
Provide Scratching Surfaces
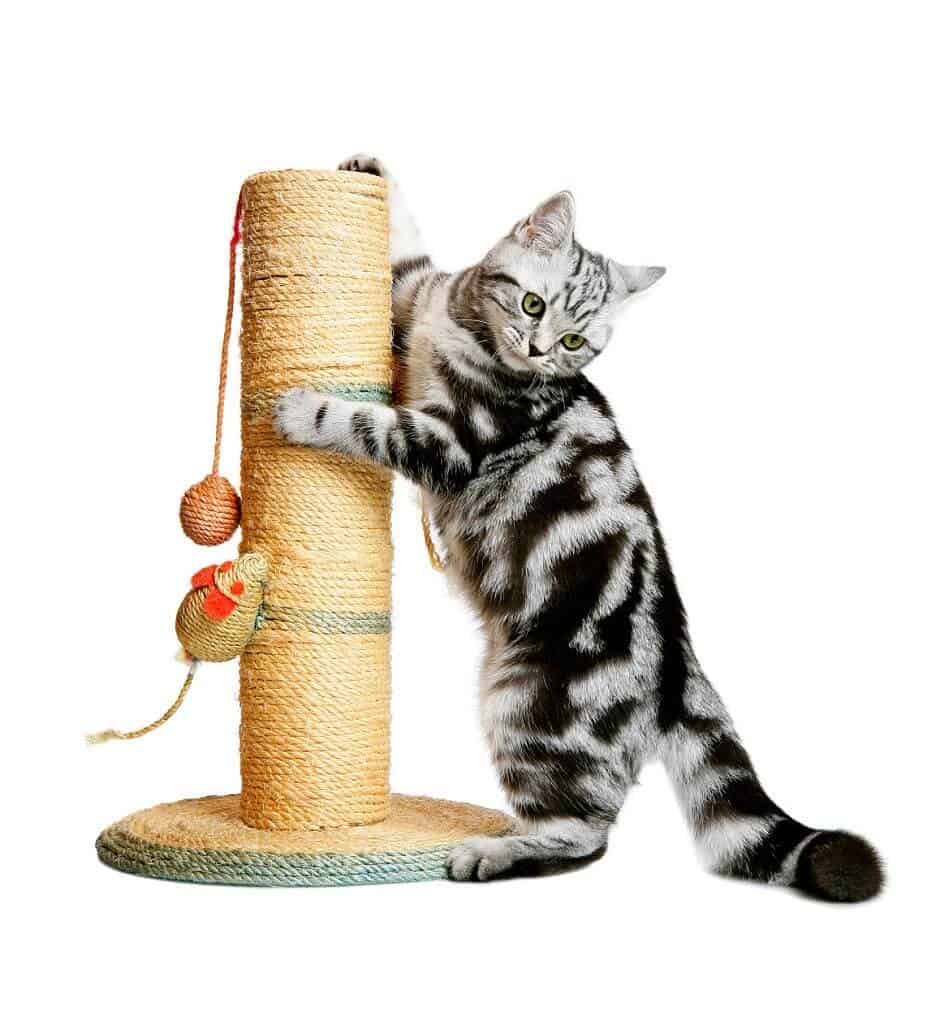
If you want to drive your cat away from scratching your furniture or your face, you can provide scratching surfaces for her. For one, you can get a scratching post. Your cat will love it and she’ll become less enticed to add her touch to your furniture.
Alternatively, you can get sticky cat tape. It’s transparent, so it won’t be visible on your furniture. Besides, it’ll keep your cat off your precious surfaces for a while.
If those two don’t work, you can always opt for the old-fashioned way: repellant spray. It’ll have a smell that your cat doesn’t like, which will keep her claws at bay.
Must Read: Is your cat spraying/peeing everywhere and you have no clue what you should do about it? Read this Cat Spraying No More review if that’s the case.
Get Cat Nail Caps
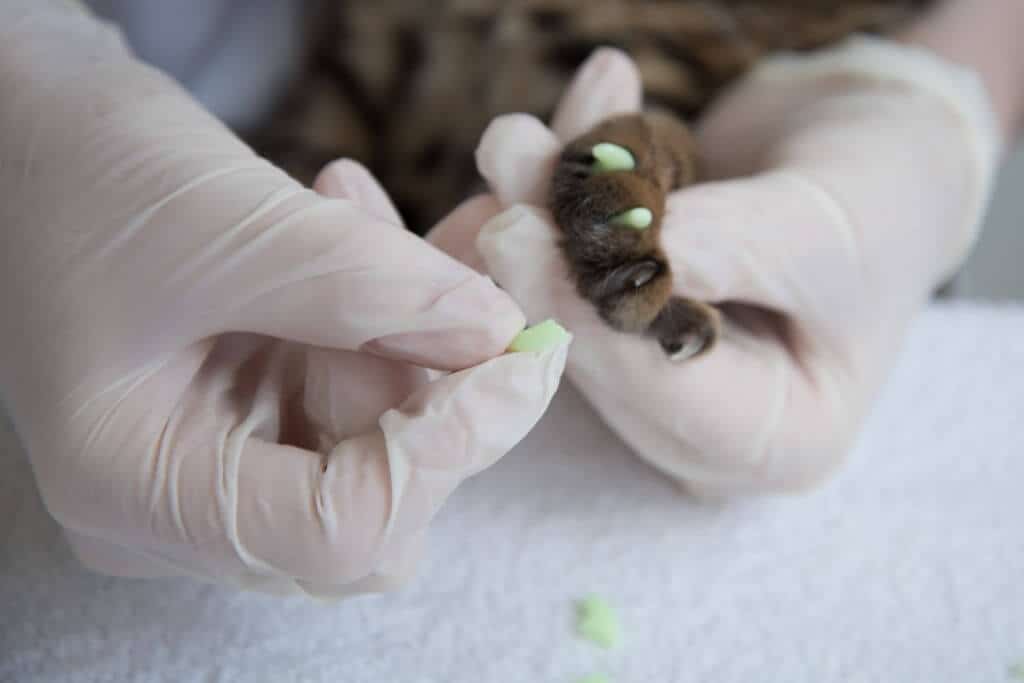
If you don’t want to trim your cat’s nails, you can get cat nail caps and put them on. They’re hollow on the inside to allow you to secure them to the cat’s claws. On top of that, they’re soft and flexible, so they won’t bother her.
They attach to the cat’s claws by a non-toxic adhesive, and they stay securely in place. They can stay on for up to two months, but your cats will likely grow nails beforehand and they’ll fall on their own.
Final Thoughts
Trimming cat nails turned out to be easier than you think, right? It merely requires some patience, precision, and the right tools. Your cat won’t like it at first, but it’ll be okay later on. The process doesn’t have to be painful for either you or your little furry friend.

I’ve been living with cats since 2008 and I can confidently say I have more feline friends than humans lol. I currently live with 5 cats in different life stages; two of them are less than one year old, one is 2-ish years old and the oldest two are 9-ish years old. I’ve developed a strong bond with cats over the years and I’m eager to share my experience through this blog. You can learn more about my cats here.